


Showing posts with label DIY. Show all posts
Showing posts with label DIY. Show all posts
Thursday, April 18, 2013
New Home, New State, New Coastline, New Projects... #1 The Entryway

The Entryway
Soooooooo after about a month of being in my NEW home in with the Hubster a NEW state on a NEW coast line (yeah Fl to WA…. Farrrrrrr away from my roots!) my crafty craftiness was coming back to me… after constant searching for “Console Table” “Entryway table” and “Foyer table” on craigslist and this new site I found about (offerupnow.com) I finally found one..
about 40 minutes away from our home.. yeah I wanted it that bad. I mean I had been looking for WEEKS and one Saturday morning when my Hubby was out to the field for 2 week long training {I will tell you his reaction to the entryway surprise later} I hit up craigslist because that morning I was
D-E-T-E-R-M-I-N-E-D to make it to a garage sale and the night before I saw a few postings for a garage sale in the area and that they would be posting the address first thing in the AM. So off to craigslist I go. NOW this is where I kind of deviated from my plan, maybe it was the weeks of searching to the point it has become a habit I keyed in “Entryway table” and hit Enter. Much to my surprise… A NEW LISTING… only 30 minutes old!!! I JUMPED ON IT! Now… getting the kids ready in a flash yeah I am that good ;) and typed in the address in my navigation, btw, Washington weather is a lot bleaker than my native Florida weather… needless to say it was soooo cold this particular morning! Now I finally get there, and I knew before getting there that this would be a task.. I mean getting this 7ft long entryway table in to my Explorer with the twins in tow would be no easy task. Now.. I would like you to meet Charlotte.

A beauty she is. Solid and sturdy, Queen Anne Legs now don’t get me wrong, I LOVE LOVE LOVE the darker wood colors and under normal circumstances I would not have changed Charlotte.. Maybe touch up a few spots but other than that nothing else. But these weren’t normal circumstances… Charlotte is going to be FRONT AND CENTER of my home; she will be the first thing that people see when they enter my home. So I had to make her stand out. So after the 40 minute drive home with the babes {meet my babies}

and my new addition (that the Hubs didn’t know about) we arrive home, carry it in the front door, put it in its new home, stand back for a few minutes and visualize…think about what I want to see when I walk in the front door… because this is what I have been seeing…
 and it has been driving me crazy for almost 2 months now. And I think what will go well with other colors? What is timeless? What will make this pop and still be subtle? Well… after pondering for the rest of the night, I realized what color Charlotte was going to be painted… she now had a date… With whom you might ask?

KRYLON!!!! {I love this stuff! I love how fast it dries the coverage it provides the colors that they have and did I mention how FAST it dries??? I am a true Krylon girl at heart.}
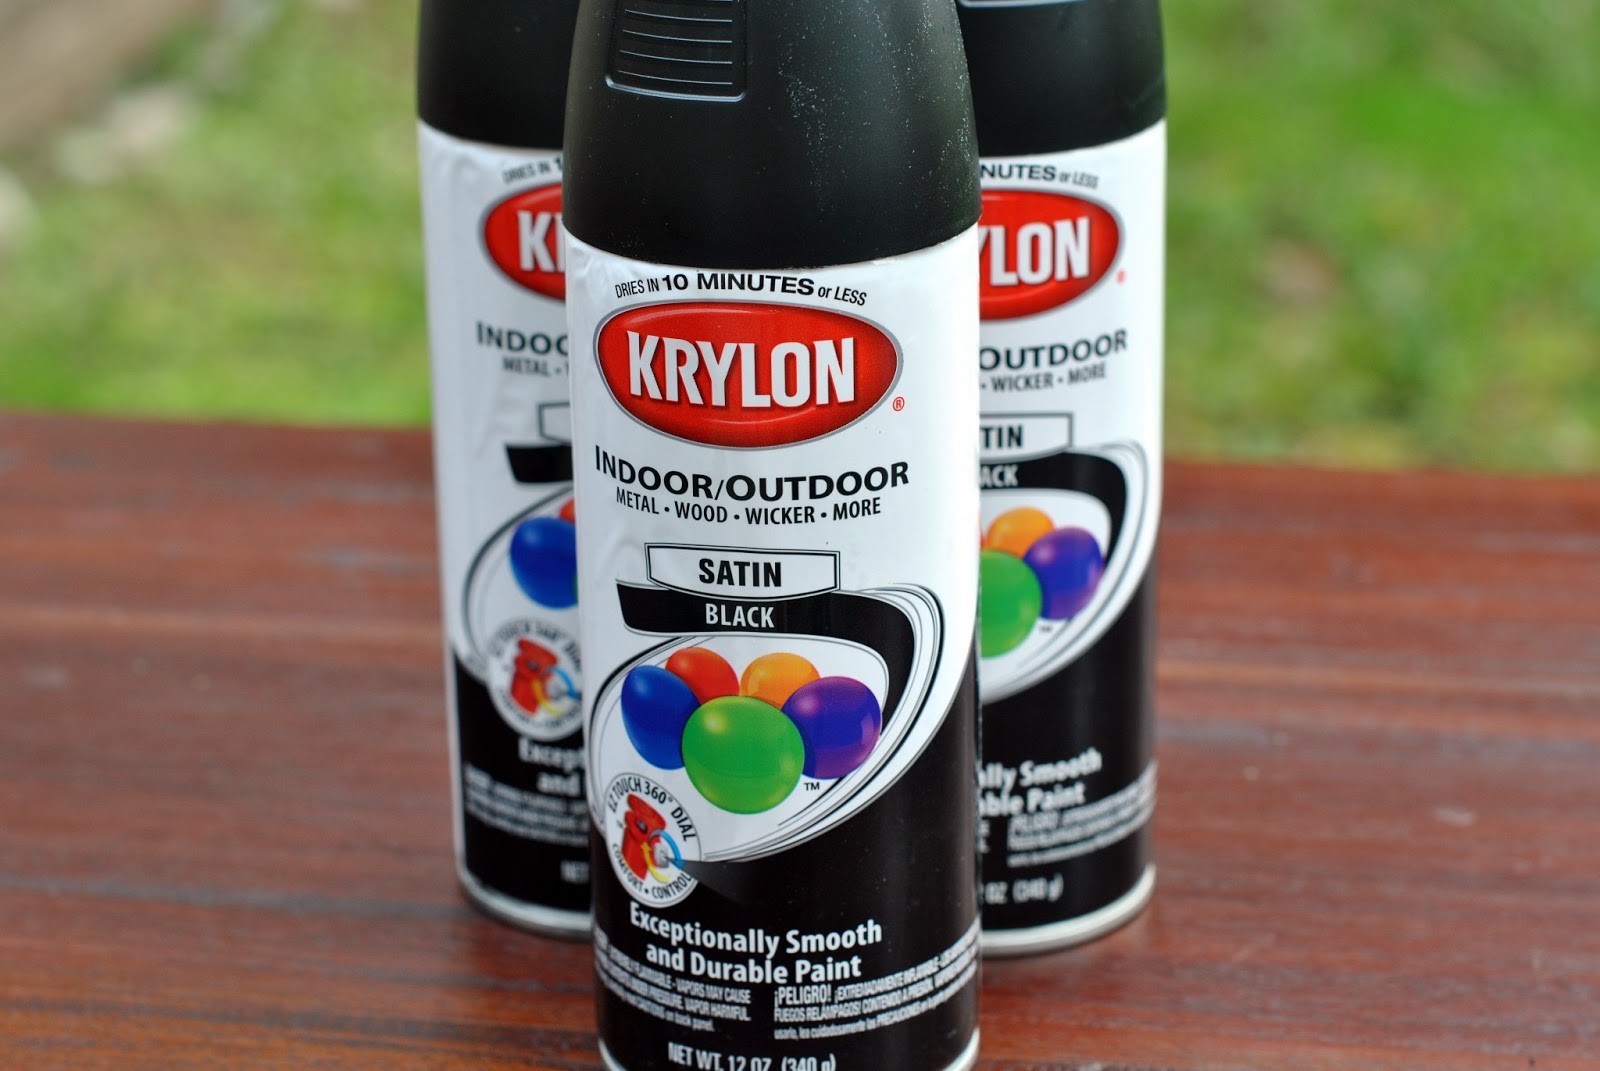
But yes, Charlotte had a date with 3 cans of Krylon Black Satin Spray at about 10am and this girl had a date with her Keurig and Folders Vanilla Biscotti and Cinnabon creamer! (if you haven’t tried that stuff you should, it is such an awesome combination!)
note I did not prime the wood at all now, you can, I normally do but this time I really wanted to test my love of Krylon (and if it turned out horrible I would have had to get out my handy sander) ready to see the results of the 3 cans of Black Satin Krylon and an unprimed 7’ stained wood table with gorgeous Queen Anne Legs and 2 hours of my time? {btw, 3 cans became 3 coats of spray paint, along with some touchups, now remember I did not prime this piece but this was my way of testing just how AWESOME Krylon is) and here are the end results of my efforts…
note I did not prime the wood at all now, you can, I normally do but this time I really wanted to test my love of Krylon (and if it turned out horrible I would have had to get out my handy sander) ready to see the results of the 3 cans of Black Satin Krylon and an unprimed 7’ stained wood table with gorgeous Queen Anne Legs and 2 hours of my time? {btw, 3 cans became 3 coats of spray paint, along with some touchups, now remember I did not prime this piece but this was my way of testing just how AWESOME Krylon is) and here are the end results of my efforts…

Now even though she is still drying in this picture isn’t she a Beaut? I mean she is gorgeous! And I must admit when my Husband came home {sooner than expected because he had some things to take care of on post} his first words were “How much did this cost?” lol! Thanks Babe, love you too… he really got worried when I didn’t want to tell him… and mumbled the start of “fif—” and to my readers please know that I normally do not spend a lot of $ on a piece unless it is REALLLLLLLLY worth it but this table… quite simply put… WAS WORTH IT. Would you like to see the new and improved Charlotte in her new spot in her new home?
{I have more work to do in this area but it is coming along nicely don’t you think?}

I found 99% of the items on this table at thrift stores: the large G, Candle Sticks and candle pillar were from Value Village. The picture frame was from goodwill. The turquoise iron bird a $5.00 find from a flea market from back home the only thing that was not from a thrift store… the blue ball mason jar, that is courteous of eBay… yeah I broke down and bid for a set of 3, with free s&h…. {cringes…} $27.00… yeah but the other two are up in my office waiting to be used but that one right there… holding those gorgeous colorful tulips holds them so well! Like no other vase could have done. {just agree with me here, justify me!!} The only thing I did not paint that was bought from the thrift store was the large G, Browsing the aisles at Value Village I look down and it is like it smacks me in the face and I had to have it not bad for 3 bucks! These wooden candlesticks were originally from pier 1…and were originally $20.00 each?!!!! (I only know this because the sticker was still on the bottom of them) Ummmm not this chick! I Scored them both from the VV for $6.99… I’ll take that! And the candle pillar holder was $1.99 from VV and the {now} smoke grey picture frame was $1.89 from Goodwill it was that grungy gold color you always see on old frames.
What you don’t see are the next projects up for the entryway… the DIY Mirror and what is going to be going underneath the table…… I will try to get those done and posted asap, I just have to get a few more items to get the projects done… miter saw box, liquid nail, moulding, more Krylon, wall screws, a gallon of bright white latex paint green frog tape.
Now, for the sake of the upcoming DIY’s what brand has the brightest white latex paint in your opinion and what have you used it on?

Saturday, June 9, 2012
Pallet Table
The Pallet Table
I have been working on this one, and if you are a Facebook fan you already had somewhat of a heads up on what this DIY is about. It is about PALLETS!!!! Yeah pallets, you know those hideous things that you see in the grocery store when they are unpacking all the new merchandise or around back of a local store? Those beat up, old, {did I mention hideous?} boards.
Now I have worked with pallet boards before, I know that they vary in size but they only vary between two sizes 3 1/2x40 and 5 1/5x40 and because I have had prior experience with pallet boards I have kind of mastered the art of pulling off the boards without them breaking and I will share this with you, my readers =) Now I will say this, this project isn't easy, but it is worth all of the work that is put into it. By work I mean blood, sweat and tears (from the blood haha!) Now another word of wisdom, when you are picking out pallets... There is something that you should look for. CODES!! yes, codes. Somewhere on the pallet printed/burned into it should be the letters HT and some numbers, you want these pallets because it means the pallet was Heat Treated as opposed to Chemically Treated...
 Now as for what I did This is what I started with:
now the best way that I have found to go about taking the boards off... get a hammer, start at the side wedge the nail puller end in between the boards and pry them apart. IMPORTANT NOTE.. You should hear a popping sound, POPPING IS NOT THE SAME THING AS CRACKING! Lol Popping=Good Cracking=BAD! (once you hear the two different sounds you will know what I am talking about) and after you pried both nails off of the one side, move to the next (middle) and do the same thing and continue.
 |
| The start |
And now time to sand them (and this is why you want to sand them)see the before and after pic? Yeah that looks a lot better... that looks like something I would put in my living room...well getting there anyways. ;)

After the sanding is done, tack cloth comes into play, you want to use this to get all of the sawdust off of the boards before you stain them, You want to use a tact cloth because... well it has a tacky feeling to it so it grabs EVERYTHING that SHOULDN'T BE THERE.

after that, depending on what you are doing either painting or staining the boards, if you are painting go ahead and start painting (art deco and apple barrel acrylics work great {or Krylon ;) } if you are staining them you will have to Pre-treat the boards, (awww really?!) yes pre-treat because these are old boards you are working with, so the pre-treat kind of brings a little bit of life to them by making them ready for the stain (makes the stain absorb into the boards more). Now keep in mind when you get to this point, make sure that you have enough time to move onto the staining because you only 2 hours after you put the pre-treat on to stain the boards. I will usually let the pre-treat soak in for about 15 to 20 min. then after it has soaked in a bit, time to move onto staining I stained the boards with a Dark Walnut/Jacobean mixture {Minwax} so it was extremely dark (which was exactly what I wanted).
 let the stain absorb into the boards for about 15 min. Wipe off the stain and if you want it darker, do this over again, I stopped with two coats of stain and here is what it looked like.
Now, time for the moulding and attaching these boards all together, in my previous post, I mentioned that my Dad is a master carpenter ;) soooo guess where I went :) that's right, over to Mom and Dad's and here is what we did, we cut out a 16x39 inch piece of plywood and he made the moulding for me we cut it to size at 45 degree angles and then took a staple gun to all of it.

=) POWER TOOLS (= here are the pics I took while we were doing all of this (sorry if the pics are bad.. so is my phone haha! it has been dropped more times than I've had a birthday)
Now that the fun stuff is done, time to paint the moulding, now what I used was a sponge brush from my go to place (wally world!) and art deco paints (black and metallic gold) now to make this process go a little faster I dry brushed it {Dry Brushing is putting very little paint on the brush and painting it with as little paint as possible so it dries faster} I did this twice... Then, after this was done it is time to use the metallic gold paint to get it into the cracks, dings and where the moulding pieces met. Here is how I did it
Now that the fun stuff is done, time to paint the moulding, now what I used was a sponge brush from my go to place (wally world!) and art deco paints (black and metallic gold) now to make this process go a little faster I dry brushed it {Dry Brushing is putting very little paint on the brush and painting it with as little paint as possible so it dries faster} I did this twice... Then, after this was done it is time to use the metallic gold paint to get it into the cracks, dings and where the moulding pieces met. Here is how I did it

and here is the final piece I hope you all enjoyed the tutorial!

Subscribe to:
Posts (Atom)
Popular Posts
-
 The Entryway Soooooooo after about a month of being in my NEW home in with the Hubster a NEW state on a NEW coast line (yeah...
-
 This is a super simple Tutorial for an all natural (Moisturizing) Lip Balm (there are no chemicals in this btw!) Ingredients Olive Oil Almo...
-
 The Pallet Table I have been working on this one, and if you are a Facebook fan you already had somewhat of a...
-
 Broccoli Slaw So today isn’t a DIY but an awesome snack/side dish that I happen to be snacking on in betwee...
Stay In Touch


Subscribe To Rue Paradis


 Posts
All Comments
LP


